Every Christmas growing up, my mother-in-law added a new ornament to the tree for my husband that reflected a special moment from the year. This tradition was carried on for 18 years and when he and I first moved in together after college, she gave him the box of ornaments for our tree. It’s so special to look through these mementos and see the little ceramic house — a reminder of the year she bought their home — or the boxer pup, for when they first welcomed Cessna (their dog, who passed away a few years ago, after a long and happy life) into the family. This is a beautiful tradition that we are excited to continue with our kids. And for our son’s first Christmas, I got a little crafty with this DIY baby keepsake handprint ornament.
Last Christmas, when I was pregnant with our son, I found these great ornaments on Etsy that can be personalized to your liking and included a slot for a sonogram picture. I chose a hunter green trim and had the words: “You Are Loved” etched into the wood. This is a line from a book (Wherever You Are, My Love Will Find You) that we would read frequently to Logan while he was in the womb, and I thought it complimented the ornament just perfectly.
Now, for his first Christmas, I decided to to celebrate the occasion with one of those keepsake baby handprint ornaments. There’s the traditional handprint on white clay, however, I wanted something a little more festive, so I thought why not make my own! It’s actually quite easy to do and creates a priceless memento from this very special time in your family’s life.
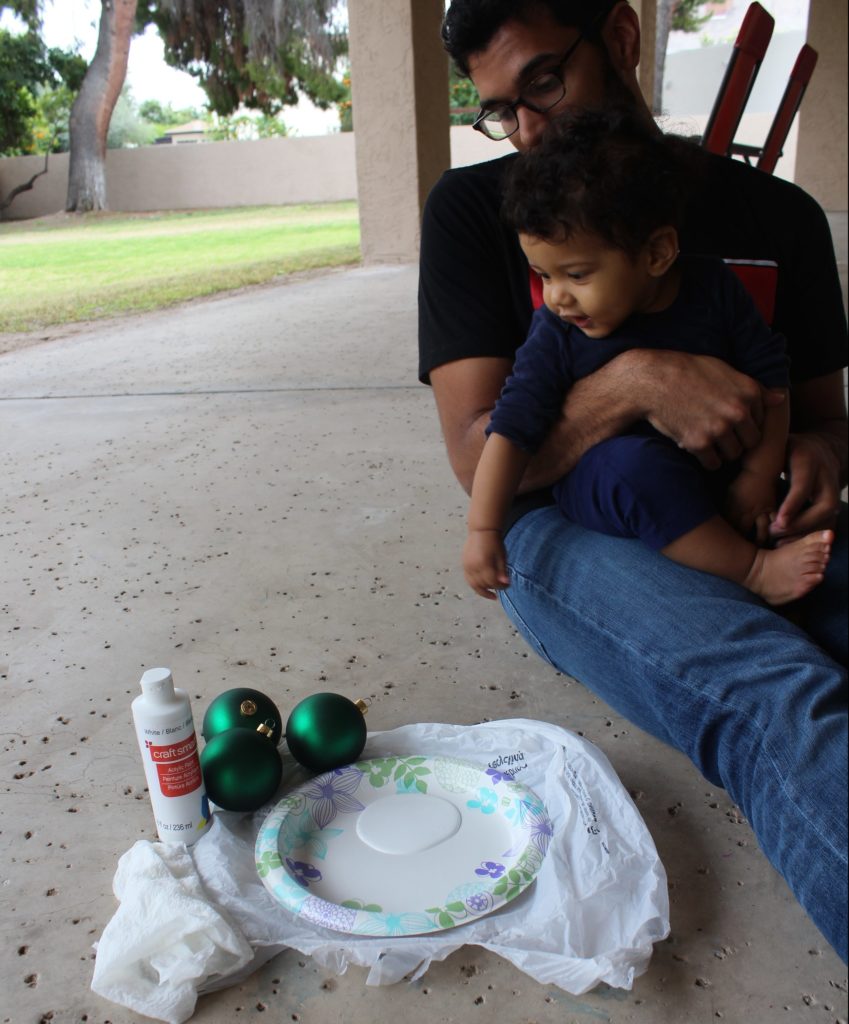
What You’ll Need:
-
Ornament ball (I’m using one that’s shatterproof.)
-
White acrylic paint
-
Paper plate
-
Sharpie marker (Or permanent craft marker, I found one that’s gold.)
Making Your DIY Baby Handprint Ornament
1. PREPARE YOUR WORKSPACE
You’ll first want to lay down some newspaper or plastic to protect your work surface.
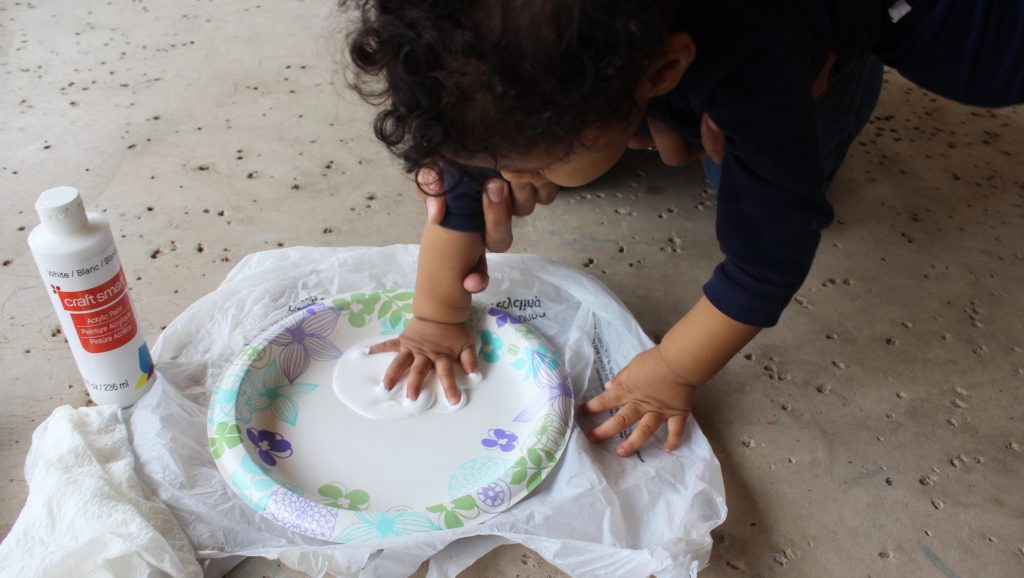
2. PAINT YOUR BABY’S HAND
Pour a dollop of paint on to your paper plate, next take your baby’s hand and press into paint. Be sure to smear around plate to make sure you’re wiping some of the excess off, but also covering the entire hand.
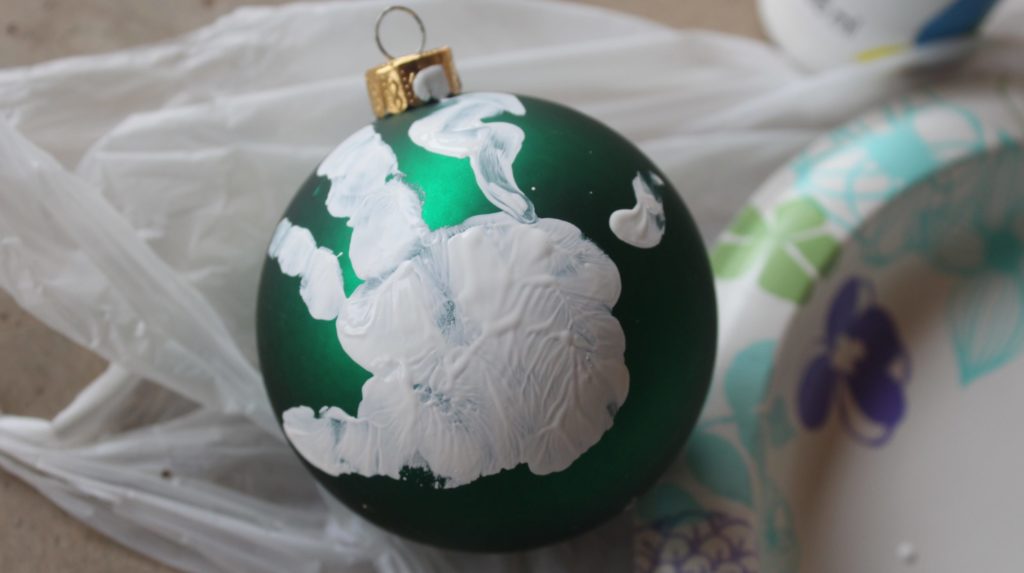
3. CREATE THE HANDPRINT
Then transfer onto ornament, and allow the paint to dry.




Leave a Reply